10+ Years Experience
Specialist Resin Flooring
Enquire Today For A Free No Obligation Quote
DIY repairs for epoxy flooring can be a cost-effective and practical solution to restore the beauty of your floor. By addressing common issues such as scratches, scuffs, cracks, chips, and fading, you can prolong the lifespan of your epoxy floor and maintain its pristine appearance.
Restoring your epoxy flooring offers several benefits. It saves you money by avoiding the need for professional repairs or floor replacement. It also allows you to take control of the maintenance process and ensure a high-quality repair job.
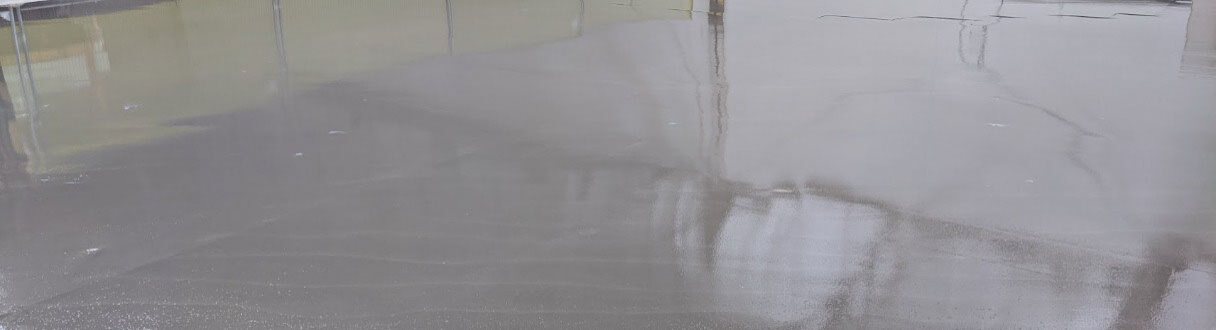
However, it is essential to understand the common issues that may arise with epoxy flooring. Scratches and scuffs can occur from heavy foot traffic or moving furniture. Cracks and chips may develop due to impact from heavy objects or improper installation. Fading and discoloration can happen over time due to UV exposure or the use of improper cleaning agents.
To execute a successful DIY repair, you will need specific tools and materials. These typically include cleaning agents, sandpaper, epoxy filler, putty knife, and topcoat. Following a step-by-step guide, starting with surface preparation and ending with addressing specific issues, will ensure a comprehensive repair process.
To achieve optimal results, there are tips and tricks to keep in mind. These include following the manufacturer’s instructions, using high-quality materials, and allowing sufficient drying and curing time. Practicing preventive maintenance, such as regular cleaning and avoiding harsh chemicals, can help prolong the lifespan of your epoxy floor.
By understanding the benefits of restoring your epoxy flooring and acquiring the necessary tools and knowledge, you can confidently undertake DIY repairs. With proper care and maintenance, your epoxy floor will continue to enhance the aesthetic appeal and functionality of your space for years to come.
Restoring your epoxy flooring brings numerous benefits for both aesthetics and functionality. The process of reviving your epoxy floor can:
Discover the most common issues that arise with epoxy flooring and learn how to overcome them. Whether you’re dealing with scratches, scuffs, cracks, chips, fading, or discoloration, we’ve got you covered. With practical tips and expert techniques, you’ll be able to restore your floor’s beauty to its former glory. Prepare yourself to tackle these problems head-on and enjoy a flawless and resilient epoxy flooring that will last for years.
Scratches and scuffs on epoxy flooring can be unsightly, but they can be easily repaired with some simple steps. Here is a list of steps to follow when addressing scratches and scuffs on your epoxy floor:
By following these steps, you can effectively repair scratches and scuffs on your epoxy flooring, restoring its beauty and prolonging its lifespan.
When dealing with cracks and chips in epoxy flooring, it is important to address them promptly to prevent further damage. Here are the steps to repair cracks and chips in your epoxy flooring:
Pro-Tip: To prevent future cracks and chips, consider applying a protective sealant to your epoxy flooring.
Fading and discolouration are common issues that can occur with epoxy flooring. The colour of the epoxy coating may fade or change over time due to sunlight and UV exposure, resulting in a discoloured appearance. To resolve this problem, there are a few steps that can be taken. Firstly, the floor should be thoroughly cleaned to remove any dirt or debris. Then, a high-quality epoxy floor coating in a colour that matches or complements the original coating should be used. The new coating should be applied evenly and allowed to cure according to the manufacturer’s instructions. This will help to restore the floor’s beauty and eliminate any fading and discolouration.
Historically, fading and discolouration were common issues with pigments used in painting during the early 19th century. Artists discovered that certain colours, particularly blues and yellows, were more prone to fading when exposed to sunlight. This led to the development of new pigments and techniques to create more lightfast and durable colours. Nowadays, advancements in technology and materials have significantly reduced the problem of fading and discolouration in various industries, including flooring.
When it comes to repairing epoxy flooring, it is important to have the right tools and materials. Here is a list of what you will need:
Get ready to restore the beauty of your epoxy flooring with this step-by-step guide. This guide will walk you through the process of repairing epoxy flooring, addressing common issues such as scratches, scuffs, cracks, chips, and fading or discoloration. Say goodbye to unsightly flaws and welcome a floor that shines like new. With clear instructions and professional advice, you’ll be able to bring back the allure of your epoxy flooring quickly. Let’s start and complete those repairs!
Before repairing epoxy flooring, it is important to prepare the surface properly for optimal results. Follow these steps for surface preparation:
Properly preparing the surface ensures a strong bond between the epoxy coating and the floor, resulting in a durable and long-lasting repair.
To fix scratches and scuffs on epoxy flooring, follow these steps:
By following these steps, you can successfully repair cracks and chips in your epoxy flooring, restoring its beauty and functionality.
To address fading and discolouration in epoxy flooring, follow these steps:
First, assess the extent of the fading or discolouration to determine the best course of action.
Next, clean the surface thoroughly using a mild detergent and water solution to remove any dirt or debris.
If the fading or discolouration is minor, you can try using a floor wax or polish specifically designed for epoxy flooring to restore its shine and colour.
If the fading or discolouration is more severe, you may need to consider applying a new coat of epoxy to the affected area or the entire floor surface.
Before applying a new coat, make sure to properly prepare the surface by lightly sanding it and removing any loose or peeling epoxy.
Follow the manufacturer’s instructions to mix and apply the epoxy coating, ensuring an even application for a seamless finish.
Allow the epoxy to cure completely according to the recommended drying time.
Once the epoxy has cured, inspect the repaired area and make any necessary touch-ups for a consistent appearance.
When it comes to repairing epoxy flooring, following these tips and tricks can help ensure successful results:
To repair small cracks and chips in epoxy flooring, you can use mortar or an epoxy patching kit. First, fill in the cracks and chips with either mortar or the epoxy patching kit. Once the repairs are complete, apply a new layer of epoxy over the repaired areas to ensure a seamless finish.
If your epoxy flooring has extensive damage, it may be necessary to resurface the entire area before applying new epoxy. This will ensure a smooth and durable finish. It is recommended to consult with a professional like Epoxy Colorado to assess the damage and provide the best solution.
Bubbles can form in fresh epoxy due to trapped air or gasses escaping from the concrete slab. To remedy this issue, you can buff and clean the area before re-installing the epoxy. This will help eliminate any potential air pockets and create a smooth, bubble-free surface.
If your epoxy flooring is peeling, you can remove the peeling epoxy by using a rotary scrubber, scraper, or paint stripper. After removing the peeling epoxy, thoroughly clean the floor and re-install the epoxy coating. This will restore the beauty and durability of your flooring.
Discoloration on epoxy flooring can occur due to various factors. To address this issue, you can use a tinted sealer, water-based stain, or dye. These solutions will help restore the desired color and improve the overall appearance of your epoxy flooring.
The lifespan of an epoxy flooring system can vary depending on several factors, such as the quality of installation, maintenance techniques, and the amount of wear and tear. In residential settings, epoxy flooring can last 5 to 10 years or longer with proper care. It is always best to check with the epoxy installer to understand the warranty coverage and ensure the longevity of your flooring system.


We Aim To Reply To All Enquiries With-in 24-Hours